“The Jack That Souldn’t Have Stayed in the Box”
This deal was one of the most interesting hands of the 1970 World Bridge Championship. Bob Hamman, playing with Mike Lawrence, had a chance to demostrate two of his qualities: He likes to bid to the limit. Then he likes to play hard to justify his optimism.
Dealer South, Both Vul
5 4 2
A 4 3
Q 8 6
K 8 5 3
K Q 10 8 6
J 2
J 7 4
A J 4
J 9 7
9 6
K 10 5 3 2
Q 10 6
A 3
K Q 10 8 7 5
A 9
9 7 2
West
North
East
South
Lin
Lawrence
Hsiao
Hamman
1
1
2
2
4
Pass
Pass
Pass
West opened the K, which was ducked and the spade continuation taken by the ace. Bob studied hard. What was he thinking?
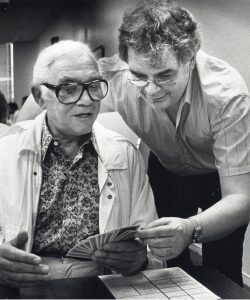
Lorne Green & Bob Hamman
He has two chances. The first required both diamond king and club ace with West. If so, Bob could play the ace and another diamond, establishing the queen. Later he could discard a club loser on the diamond queen. A club lead to the king would limit his losers to one trick in each side suit.
Not a bad plan. However, if this were to have any chance, what did East have to justify his spade raise?. Exit old plan, enter new.
East was presumed to have at least one of the missing key cards. If it was the A, there was no play. East’s key card had to be the diamond king.
Bob concluded that the only legitimate was to make the hand was to establish dummy’s fourth club for a discard of his own diamond loser. To succeed, clubs must divide evently and the A be with West. What else?
He must keep West from attacking diamonds! Since East could not safely attack the diamond suit, Bob had to sneak a club trick into East, This would provide the timing to establish the fourth club.
Bob played the 7 at trick three (drawing trumps was delayed to withold information from West and to provide an entry to the established club). West ducked and the hand was over!
East saw what was coming and attacked diamonds. However, Bob had his mind made up and allowed the diamond to run to dummy’s queen.
The contract would have defeated if West had cober the 7 with the J. West could the gain the lead in clubs and attack diamonds while East still had a club entry and before the fourth club was established. (The play of the A on the 7 and attack on diamonds will fail. Declarer can establish a diamond in dummy for a club discard).
Now it is easy to see that West should have covered with the jack. However, this was far from clear at the table. South could easily have had the Q 10 7.


